

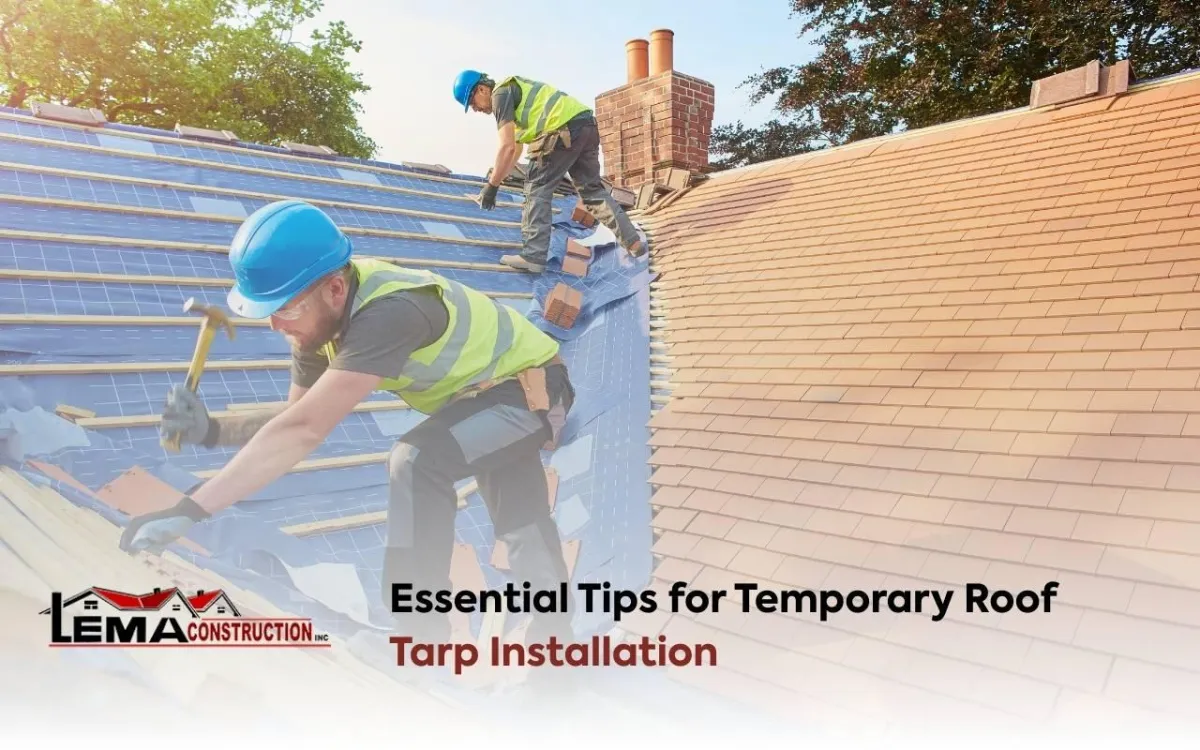
Essential Tips for Temporary Roof Tarp Installation
After a major storm, protecting your home becomes a priority. One immediate concern is roof damage. Temporary roof tarp installation is a vital skill to prevent further issues. When done correctly, this method shields your property, buys you time, and reduces long-term repair costs. In this guide, you’ll learn practical steps for effective installation and safety.
Assessing Roof Damage After a Storm
Before any temporary roof tarp installation, inspect your roof carefully. Start from the ground, looking for missing shingles or visible damage. Use binoculars if necessary. When safe, check the roof directly. Look for cracks, curling shingles, or gaps near vents and chimneys. Document findings with photos for insurance and repair planning.
Check for leaks in your attic.
Inspect rafters and ceiling joists for stress.
Note rusted or missing nails and connectors.
This method ensures you know which areas require urgent coverage and guides a safer installation.
Importance of Prompt Temporary Roof Tarp Installation
Act quickly after a storm. Even minor roof openings allow water intrusion. Temporary roof tarp installation prevents moisture damage, mold, and electrical hazards. Installing a tarp promptly also protects interiors from ruined drywall and flooring. Moreover, acting quickly strengthens insurance claims since it proves you minimized damage. Preparing a tarp and tools beforehand speeds up response time when storms strike.
Prevents costly water damage.
Supports insurance claim processes.
Protects interior spaces and framing.
Essential Tools and Materials for Tarp Installation
Gathering tools in advance simplifies temporary roof tarp installation. A heavy-duty tarp with two to three feet of overhang ensures full coverage. Secure it with nails or metal furring strips for a tight fit. Safety is vital, so use non-slip shoes, gloves, a hard hat, and a fall harness. Essential tools include a hammer, utility knife, and sealant.
Choosing the Right Type of Tarp for Your Roof
Selecting the right tarp affects durability. Polyethylene tarps are affordable and water-resistant. Choose UV-treated versions for longer life. Canvas tarps are durable but absorb water. Always ensure the tarp is thick enough and large enough to cover the damaged area with overlap. Correct tarp selection supports a successful temporary roof tarp installation.
Securing the Tarp Safely and Effectively
Lay the tarp flat, aligning it so rain flows away from damage. Fasten battens or furring strips along edges using nails or screws. Avoid fastening directly into shingles, which can tear under pressure. Seal seams with roofing tape. Finally, inspect your work from ground level and reinforce weak areas immediately. This ensures your temporary roof tarp installation remains reliable.
Weatherproofing Your Temporary Roof Tarp
Weatherproofing improves protection. Apply exterior-grade sealant along seams and around penetrations. Install flashing or drip edges where needed to direct water flow. Sandbags can secure low points. Regularly inspect after storms and adjust as needed. These steps extend the effectiveness of your temporary roof tarp installation.
Maintenance Tips for Longevity of the Tarp
Maintenance keeps your tarp functioning. Inspect weekly and after major storms. Clear debris, tighten fasteners, and trim overhanging branches. Patch holes with repair tape. In cold climates, clear snow to prevent overload. Ongoing care ensures your temporary roof tarp installation continues to protect your home until repairs are complete.
Hiring Professional Help When Needed
Sometimes, professional help is best. If damage is severe or dangerous, contact a licensed roofer. Professionals bring safety equipment and experience. They also handle permits and ensure compliance with codes. When in doubt, rely on experts for proper temporary roof tarp installation and transition to permanent solutions.
Common Mistakes to Avoid During Tarp Installation
Avoid errors for best results. Using a tarp too small leaves gaps. Oversized tarps can loosen in wind. Never skip safety gear. Do not fasten tarps directly to shingles. Always clean debris before installation. Acting promptly prevents minor leaks from becoming serious issues. These practices ensure effective temporary roof tarp installation.
Frequently Asked Questions About Temporary Roof Tarp Installation
How long can a temporary tarp last?
Most tarps last weeks to months, depending on weather and maintenance.
Do I need professional tools?
Basic household tools often work, but roofing tools improve safety and efficiency.
Can I install a tarp alone?
It’s possible, but safer and faster with at least one helper.
Does insurance cover tarping costs?
Many policies reimburse tarp expenses if used to prevent further damage.
What type of tarp works best?
Heavy-duty polyethylene tarps with UV protection are the most effective choice.
Ensuring Safety and Protection Through Proper Temporary Roof Tarp Installation
Temporary roof tarp installation is essential after storm damage. By acting quickly, choosing the right tarp, and maintaining it, you secure your home. Ready to safeguard your property? Explore our roof installation services, check our roof replacement options, or learn more about gutter protection. For direct assistance, visit our contact page today.